SwiftUIの特殊効果:ぼかし、ブレンドなど
Special effects in SwiftUI: blurs, blending, and more
ブレンドモードを使用すると、あるビューを別のビューの上にレンダリングする方法を制御できます。
//-----------------------------
struct ContentView: View {
    @State private var colorCycle = 0.0

    var body: some View {
       /*
        ZStack {
           Image("IMG_1301")

           Rectangle()
               .fill(Color.red)
               //.blendMode(.normal)
               //乗算
               .blendMode(.multiply)
       }
    */
        Image("IMG_1301")
        .colorMultiply(.red)
        .frame(width: 400, height: 500)
        .clipped()
    }
}
//-----------------------------
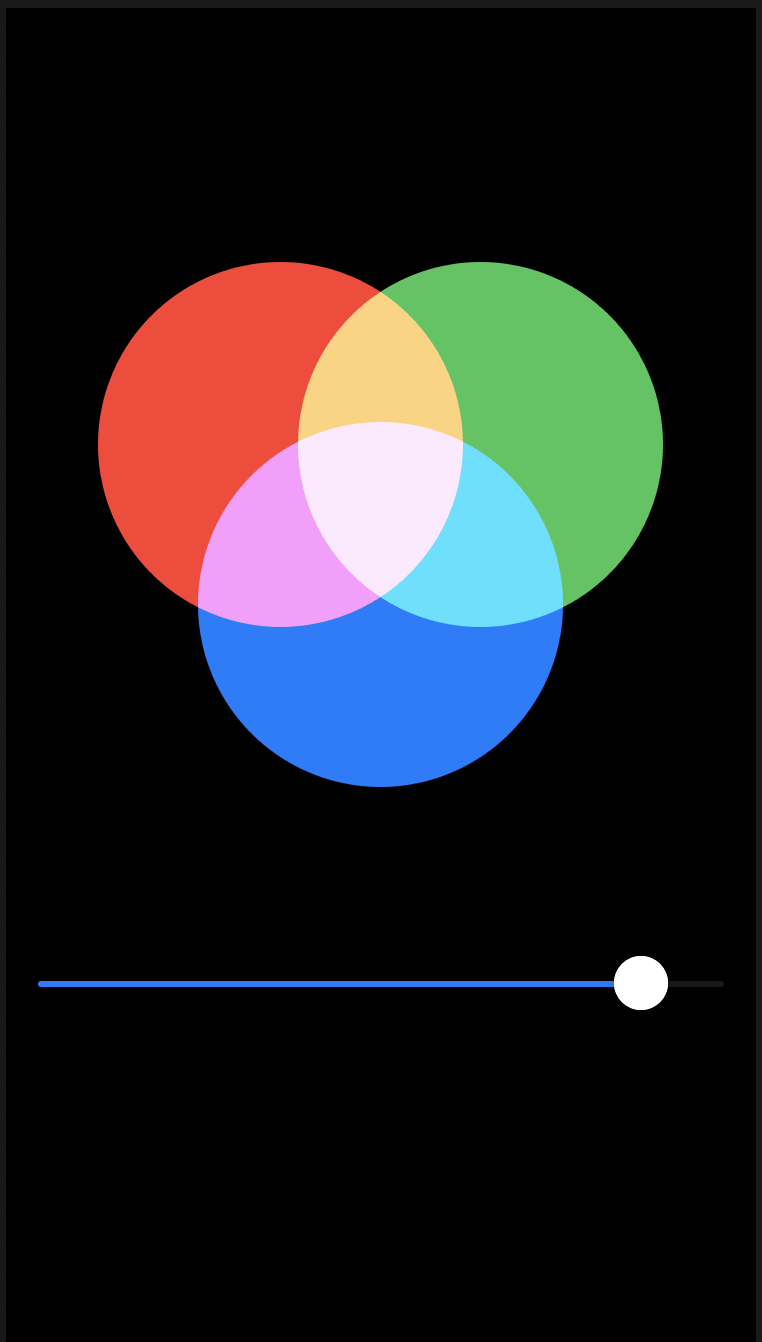
3つの円をStack内のさまざまな位置にレンダリング
中央の完全にブレンドされた色が完全に白ではなく、非常に薄いライラック色であることに気付くでしょう。その理由はあるColor.red、Color.greenとColor.blue完全にそれらの色ではありません。を使用しても、純粋な赤は表示されませんColor.red。代わりに、ダークモードとライトモードの両方で見栄えがよくなるように設計されたSwiftUIのアダプティブカラーが表示されるため、純粋な色合いではなく、赤、緑、青のカスタムブレンドになります。
//-----------------------------
struct ContentView: View {
    @State private var amount: CGFloat = 0.5

    var body: some View {
        VStack {
            ZStack {
                Circle()
                    //.fill(Color.red)
                    .fill(Color(red: 1, green: 0, blue: 0))
                    .frame(width: 200 * amount)
                    .offset(x: -50, y: -80)
                    .blendMode(.screen)

                Circle()
                    //.fill(Color.green)
                    .fill(Color(red: 0, green: 1, blue: 0))
                    .frame(width: 200 * amount)
                    .offset(x: 50, y: -80)
                    .blendMode(.screen)

                Circle()
                    //.fill(Color.blue)
                    .fill(Color(red: 0, green: 0, blue: 1))
                    .frame(width: 200 * amount)
                    .blendMode(.screen)
            }
            .frame(width: 300, height: 300)

            Slider(value: $amount)
                .padding()
        }
        .frame(maxWidth: .infinity, maxHeight: .infinity)
        .background(Color.black)
        .edgesIgnoringSafeArea(.all)
    }
}
//-----------------------------
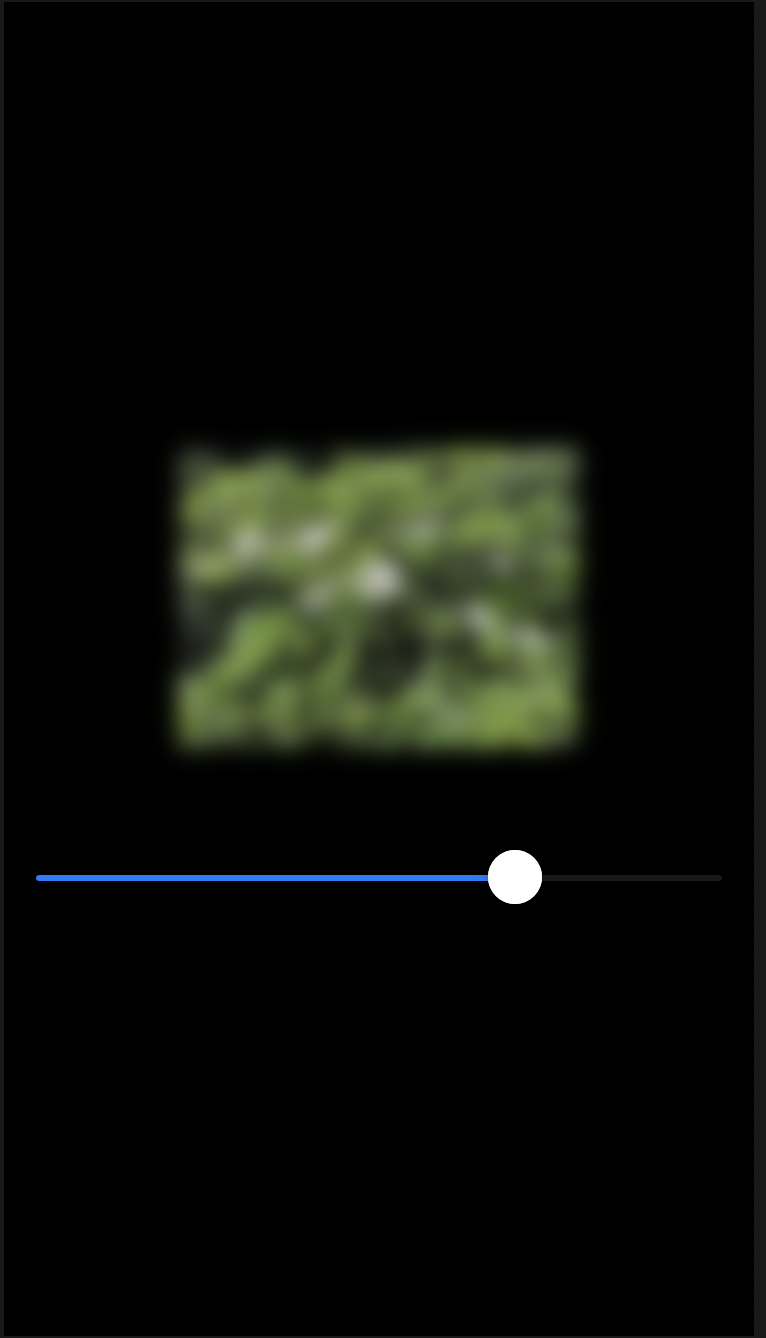
blur() ぼかし
saturation() 彩度
//-----------------------------
struct ContentView: View {
    @State private var amount: CGFloat = 0.5

    var body: some View {
        VStack {

            Image("IMG_1301")
            .resizable()
            .scaledToFit()
            .frame(width: 200, height: 200)
            .saturation(Double(amount))
            .blur(radius: (1 - amount) * 20)

            Slider(value: $amount)
                .padding()
        }
        .frame(maxWidth: .infinity, maxHeight: .infinity)
        .background(Color.black)
        .edgesIgnoringSafeArea(.all)
    }
}
//-----------------------------
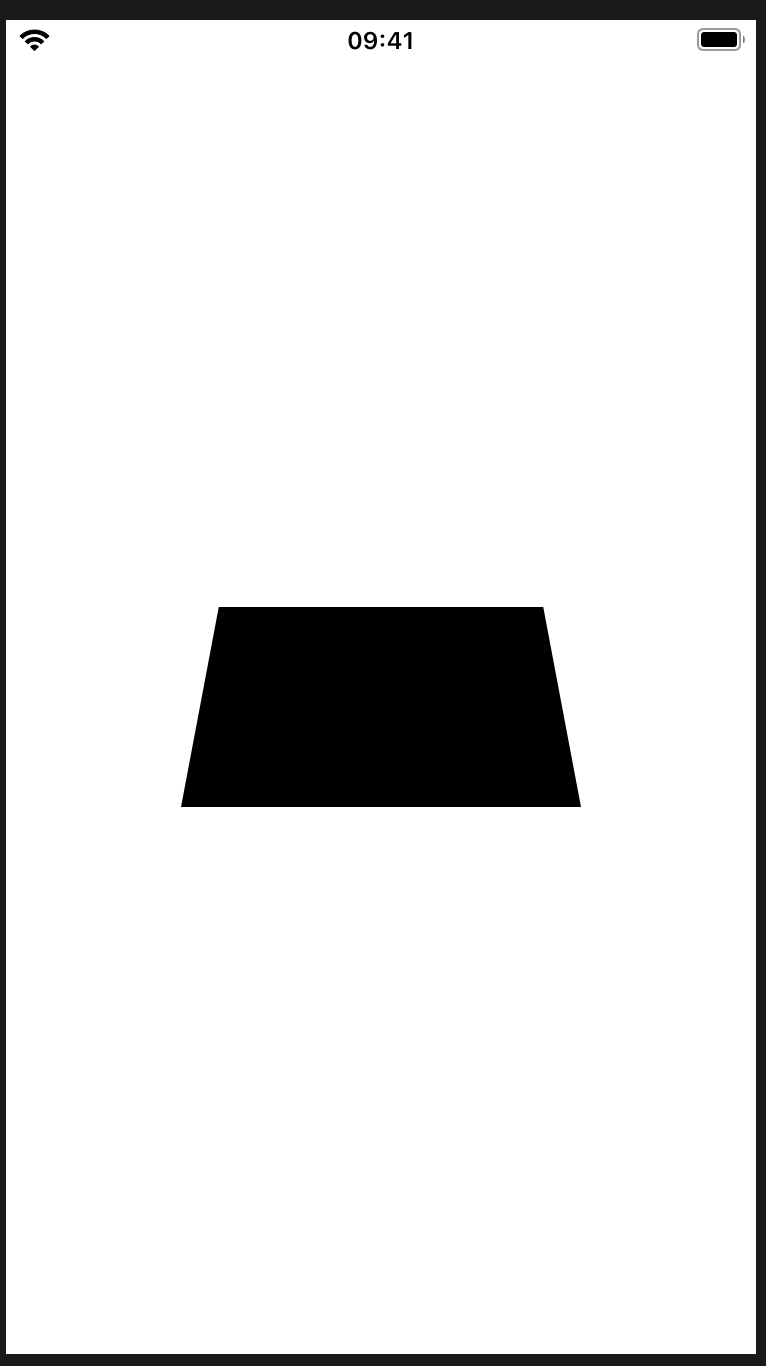
animatableDataを使用した単純な形状のアニメーション化
Animating simple shapes with animatableData
animatableData
SwiftUIはanimatableDataプロパティを使用して形状への変更をアニメーション化します。
struct Trapezoid: Shape {
    var insetAmount: CGFloat

    var animatableData: CGFloat {
        get { insetAmount }
        set { self.insetAmount = newValue }
    }

    func path(in rect: CGRect) -> Path {
        var path = Path()

        path.move(to: CGPoint(x: 0, y: rect.maxY))
        path.addLine(to: CGPoint(x: insetAmount, y: rect.minY))
        path.addLine(to: CGPoint(x: rect.maxX - insetAmount, y: rect.minY))
        path.addLine(to: CGPoint(x: rect.maxX, y: rect.maxY))
        path.addLine(to: CGPoint(x: 0, y: rect.maxY))

        return path
   }
}

//-----------------------------
struct ContentView: View {
    @State private var insetAmount: CGFloat = 50

    var body: some View {
        Trapezoid(insetAmount: insetAmount)
            .frame(width: 200, height: 100)
            .onTapGesture {
                //self.insetAmount = CGFloat.random(in: 10...90)
                withAnimation {
                    self.insetAmount = CGFloat.random(in: 10...90)
                }
            }
    }
}
//-----------------------------
animatableDataによるアニメーション
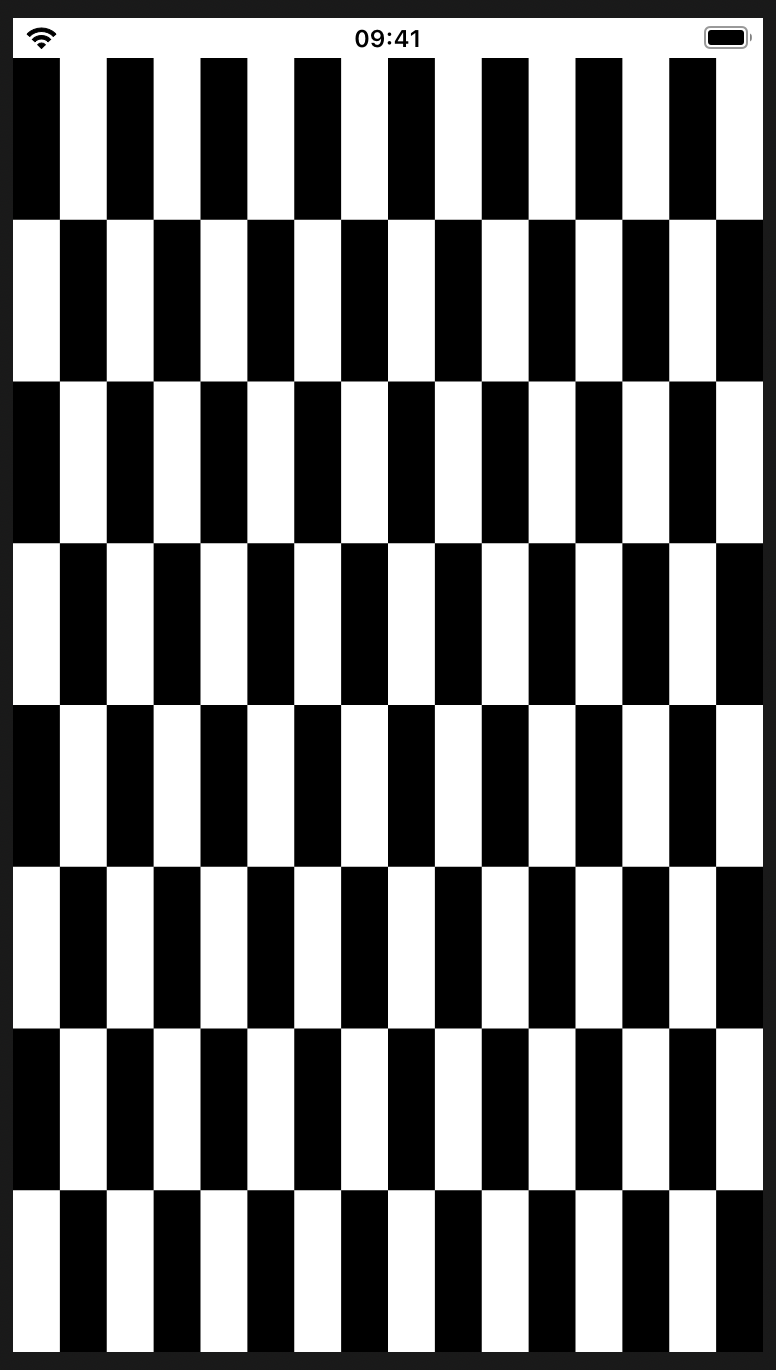
AnimatablePairで複雑な形状をアニメーション化する
Animating complex shapes with AnimatablePair
AnimatablePair
//-----------------------------
struct Checkerboard: Shape {
    var rows: Int
    var columns: Int
    //----------------
     public var animatableData: AnimatablePair<Double, Double> {
         get {
            AnimatablePair(Double(rows), Double(columns))
         }

         set {
             self.rows = Int(newValue.first)
             self.columns = Int(newValue.second)
         }
     }
    //----------------
    func path(in rect: CGRect) -> Path {
        var path = Path()

        // figure out how big each row/column needs to be
        let rowSize = rect.height / CGFloat(rows)
        let columnSize = rect.width / CGFloat(columns)

        // loop over all rows and columns, making alternating squares colored
        for row in 0..<rows {
            for column in 0..<columns {
                if (row + column).isMultiple(of: 2) {
                    // this square should be colored; add a rectangle here
                    let startX = columnSize * CGFloat(column)
                    let startY = rowSize * CGFloat(row)

                    let rect = CGRect(x: startX, y: startY, width: columnSize, height: rowSize)
                    path.addRect(rect)
                }
            }
        }
        //----------------
        return path
    }
}
//-----------------------------
SwiftUIはanimatableDataプロパティを使用して形状への変更をアニメーション化しますが、2つ、3つ、4つ、またはそれ以上のプロパティをアニメーション化したい場合はどうなりますか?animatableDataはプロパティです。つまり、常に1つの値である必要がありますが、それがどのタイプの値であるかを決定できます。それは単一のCGFloat場合もあれば、という特別なラッパーに含まれる2つの値の場合もありますAnimatablePair。
SwiftUIはanimatableDataプロパティを使用して形状への変更をアニメーション化しますが、2つ、3つ、4つ、またはそれ以上のプロパティをアニメーション化したい場合はどうなりますか?animatableDataはプロパティです。つまり、常に1つの値である必要がありますが、それがどのタイプの値であるかを決定できます。それは単一のCGFloat場合もあれば、という特別なラッパーに含まれる2つの値の場合もありますAnimatablePair。
AnimatablePair<CGFloat, AnimatablePair<CGFloat, AnimatablePair<CGFloat, CGFloat>>>