オフセットを使用してビューの位置を調整する方法
How to adjust the position of a view using its offset
//-----------------------------------
struct ContentView: View {
    @State var showingDetail = false


    var body: some View {
//        VStack {
//            Text("Home")
//            Text("Options")
//                .offset(y: 15)
//            Text("Help")
//        }

//        VStack {
//            Text("Home")
//            Text("Options")
//                .offset(y: 15)
//                .padding(.bottom, 15)
//            Text("Help")
//        }
        //A guide marking the bottom and trailing edges of the view.
        ZStack(alignment: .bottomTrailing) {
            Image("dokuro")
            Text("Photo: ")
                .padding(4)
                .background(Color.black)
                .foregroundColor(.white)
                .offset(x: -5, y: -5)
        }
    }
}
//-----------------------------------
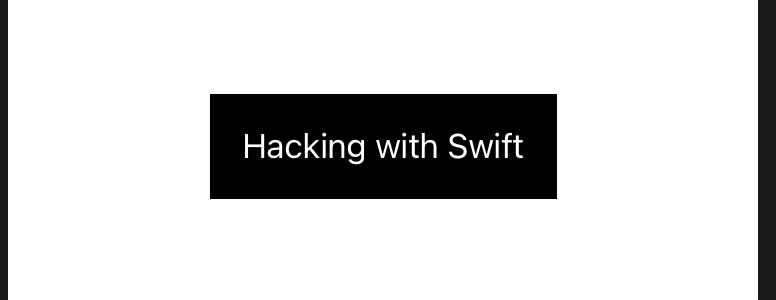
ビューの周りのパディングに色を付ける方法
How to color the padding around a view
//-----------------------------------
struct ContentView: View {
    @State var showingDetail = false


    var body: some View {
        Text("Hacking with Swift")
//            .background(Color.black)
//            .foregroundColor(.white)
//            .padding()

            .padding()
            .background(Color.black)
            .foregroundColor(.white)
    }
}
//-----------------------------------
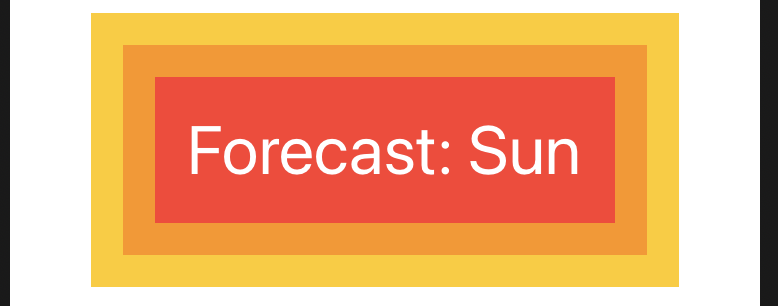
How to stack modifiers to create more advanced effects
//-----------------------------------
struct ContentView: View {
    @State var showingDetail = false


    var body: some View {
        Text("Forecast: Sun")
            .font(.largeTitle)
            .foregroundColor(.white)
            .padding()
            .background(Color.red)
            .padding()
            .background(Color.orange)
            .padding()
            .background(Color.yellow)
    }
}
//-----------------------------------
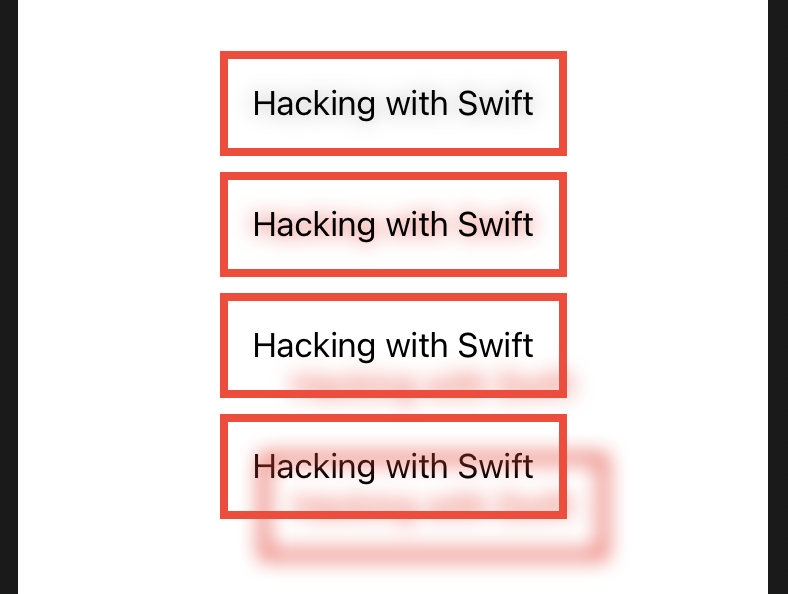
ビューの周囲に境界線を描画する方法
How to draw a border around a view

//-----------------------------------
struct ContentView: View {

    var body: some View {
        VStack{
            Text("Hacking with Swift")
                .border(Color.black)

            Text("Hacking with Swift")
                .padding()
                .border(Color.black)

            Text("Hacking with Swift")
                .padding()
                .border(Color.red, width: 4)

            Text("Hacking with Swift")
                .padding()
                .overlay(
                    RoundedRectangle(cornerRadius: 16)
                        .stroke(Color.blue, lineWidth: 4)
                )
        }
    }
}
//-----------------------------------
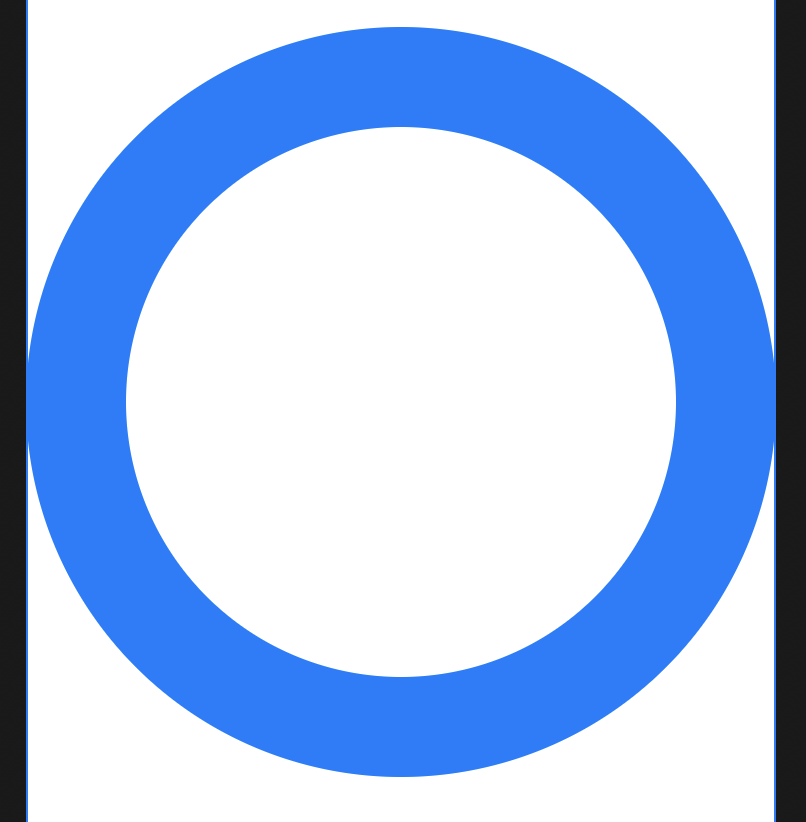
ビュー内に境界線を描画する方法
How to draw a border inside a view
//-----------------------------------
struct ContentView: View {

    var body: some View {
        VStack{
            //Rectangle() Capsule()
            Circle()
                .strokeBorder(Color.blue, lineWidth: 50)

//            Circle()
//                .stroke(Color.blue, lineWidth: 50)
        }
    }
}
//-----------------------------------
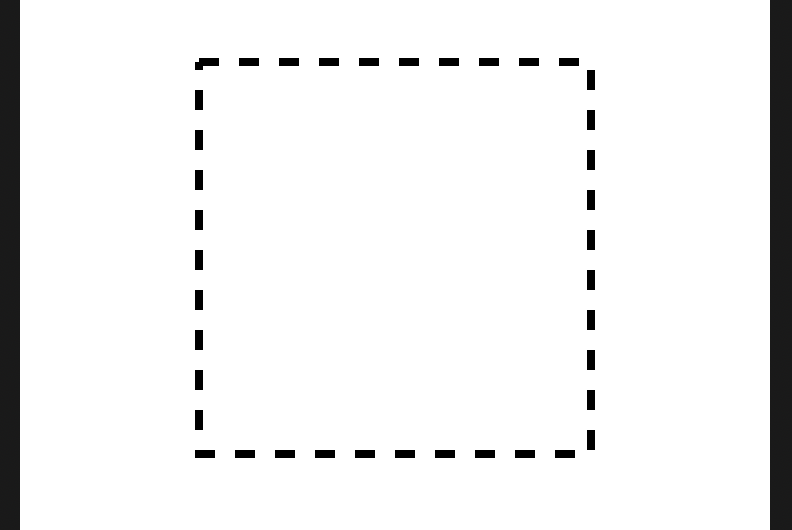
マーチングアリのボーダー効果を作成する方法
How to create a marching ants border effect
//-----------------------------------
struct ContentView: View {
    @State private var phase: CGFloat = 0

    var body: some View {
//        Rectangle()
//          .strokeBorder(style: StrokeStyle(lineWidth: 4, dash: [10]))

        Rectangle()
            .strokeBorder(style: StrokeStyle(lineWidth: 4, dash: [10], dashPhase: phase))
            .frame(width: 200, height: 200)
            .onAppear { self.phase -= 20 }
            .animation(Animation.linear.repeatForever(autoreverses: false))
    }
}
//-----------------------------------
ビューの周りに影を描く方法
How to draw a shadow around a view
//-----------------------------------
struct ContentView: View {
    @State private var phase: CGFloat = 0

    var body: some View {
        VStack{
            Text("Hacking with Swift")
                .padding()
                .shadow(radius: 5)
                .border(Color.red, width: 4)

            Text("Hacking with Swift")
                .padding()
                .shadow(color: .red, radius: 5)
                .border(Color.red, width: 4)

            Text("Hacking with Swift")
                .padding()
                .shadow(color: .red, radius: 5, x: 20, y: 20)
                .border(Color.red, width: 4)

            Text("Hacking with Swift")
                .padding()
                .border(Color.red, width: 4)
                .shadow(color: .red, radius: 5, x: 20, y: 20)
        }
    }
}
//-----------------------------------
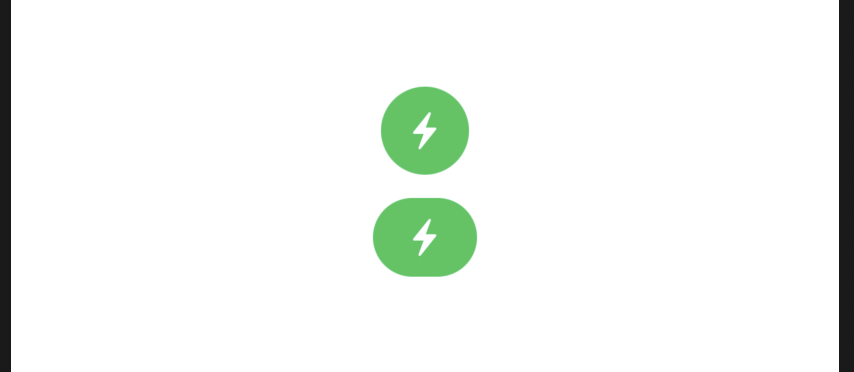
一部のみが表示されるようにビューをクリップする方法
How to clip a view so only part is visible
//-----------------------------------
struct ContentView: View {
    @State private var phase: CGFloat = 0

    var body: some View {
        VStack{
            Button(action: {
                print("Button tapped")
            }) {
                Image(systemName: "bolt.fill")
                    .foregroundColor(.white)
                    .padding()
                    .background(Color.green)
                    .clipShape(Circle())
            }

            Button(action: {
                print("Button tapped")
            }) {
                Image(systemName: "bolt.fill")
                    .foregroundColor(.white)
                    .padding(EdgeInsets(top: 10, leading: 20, bottom: 10, trailing: 20))
                    .background(Color.green)
                    .clipShape(Capsule())
            }
        }
    }
}
//-----------------------------------
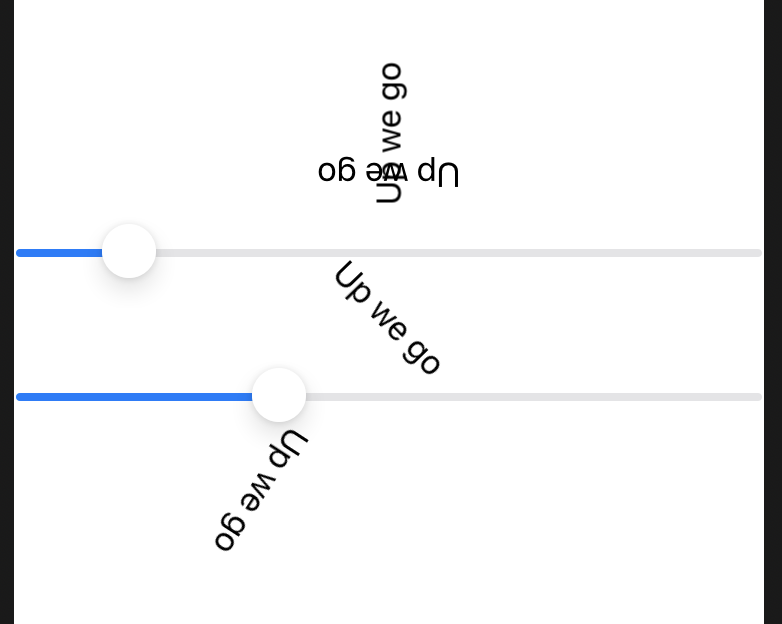
ビューを回転させる方法
How to rotate a view
//-----------------------------------
struct ContentView: View {
    @State private var phase: CGFloat = 0
    @State private var rotation1 = 0.0
    @State private var rotation2 = 0.0

    var body: some View {
        VStack{
            Text("Up we go")
                .rotationEffect(.degrees(-90))

            Text("Up we go")
                .rotationEffect(.radians(.pi))

            Slider(value: $rotation1, in: 0...360, step: 1.0)
                        Text("Up we go")
                            .rotationEffect(.degrees(rotation1))

            Slider(value: $rotation2, in: 0...360, step: 1.0)
                        Text("Up we go")
                            .rotationEffect(.degrees(rotation2), anchor: .topLeading)
        }
    }
}
//-----------------------------------
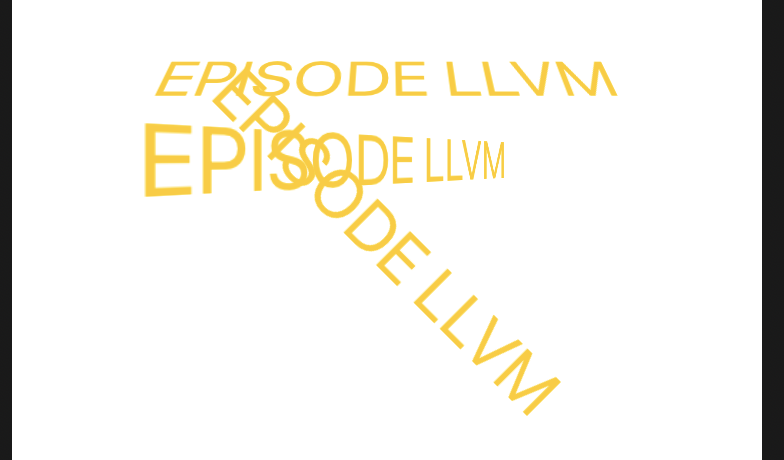
3Dでビューを回転させる方法
How to rotate a view in 3D
このモディファイヤは、回転する角度(度またはラジアン)と、回転を実行するX、Y、およびZ軸を含むタプルの2つのパラメータを受け入れます。
テキストをX軸を中心に45度回転させたい場合(テキストの上部が下部よりも遠くに見えるようになります)、次のように記述できます。
//-----------------------------------
struct ContentView: View {
    @State private var phase: CGFloat = 0
    @State private var rotation1 = 0.0
    @State private var rotation2 = 0.0

    var body: some View {
        VStack{
            Text("EPISODE LLVM")
                .font(.largeTitle)
                .foregroundColor(.yellow)
                .rotation3DEffect(.degrees(45), axis: (x: 1, y: 0, z: 0))

            Text("EPISODE LLVM")
                .font(.largeTitle)
                .foregroundColor(.yellow)
                .rotation3DEffect(.degrees(45), axis: (x: 0, y: 1, z: 0))

            Text("EPISODE LLVM")
                .font(.largeTitle)
                .foregroundColor(.yellow)
                .rotation3DEffect(.degrees(45), axis: (x: 0, y: 0, z: 1))
        }
    }
}
//-----------------------------------
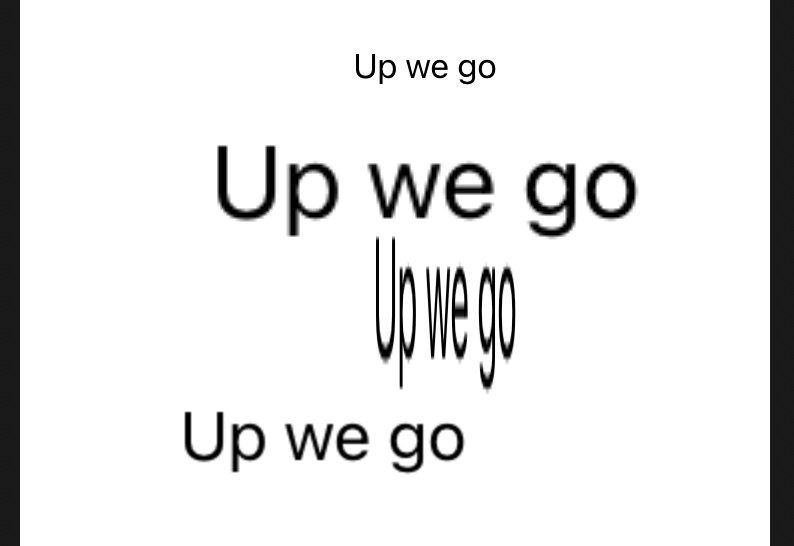
ビューを拡大または縮小する方法
How to scale a view up or down
//-----------------------------------
struct ContentView: View {

    var body: some View {
        VStack{
            Text("Up we go")
                .padding([.leading, .bottom], 30)
            Text("Up we go")
                .scaleEffect(3)
                .padding([.leading, .bottom], 30)

            Text("Up we go")
                .scaleEffect(x: 1, y: 5)
                .padding([.leading, .bottom], 50)

            Text("Up we go")
                .scaleEffect(2, anchor: .bottomTrailing)
        }

    }
}
//-----------------------------------
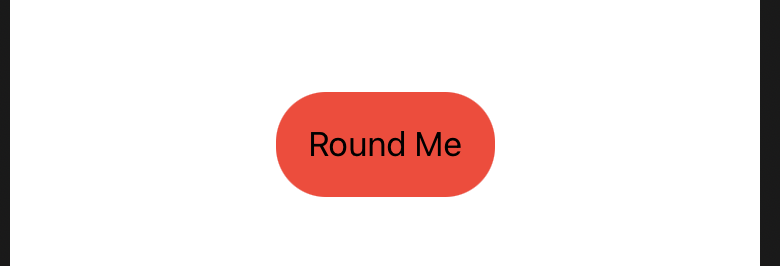
ビューの角を丸める方法
How to round the corners of a view
SwiftUIビューはすべて、モディファイヤを使用して角を丸めることができますcornerRadius()。
//-----------------------------------
struct ContentView: View {

    var body: some View {
        VStack{
            Text("Round Me")
                .padding()
                .background(Color.red)
                .cornerRadius(25)
        }

    }
}
//-----------------------------------
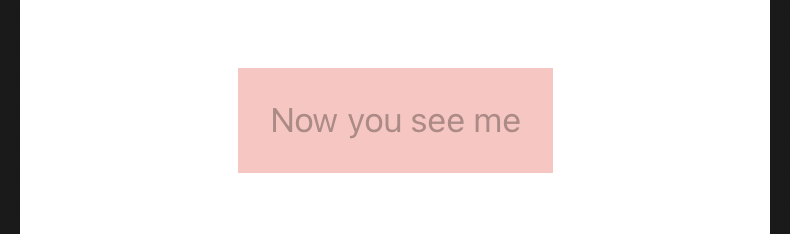
ビューの不透明度を調整する方法
How to adjust the opacity of a view
//-----------------------------------
struct ContentView: View {

    var body: some View {
        VStack{
            Text("Now you see me")
                .padding()
                .background(Color.red)
                .opacity(0.3)
        }

    }
}
//-----------------------------------
ビューのアクセントカラーを調整する方法
How to adjust the accent color of a view
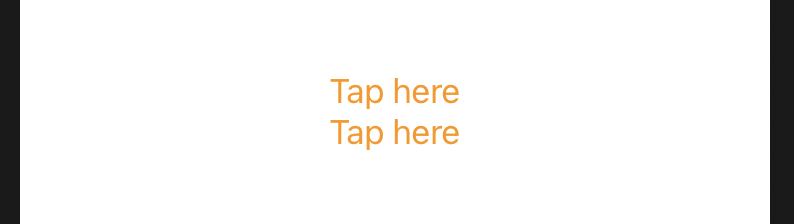
iOSは色合いの色を使用してアプリに調整されたテーマを与えます。同じ機能がSwiftUIでaccentcolorsという名前で利用できます。UIKitの場合と同様に、1つのビューのアクセントカラーを設定すると、そのビュー内のすべてのビューに影響します。したがって、トップレベルコントロールのアクセスカラーを設定すると、すべてが色付けされます。
たとえば、これにより、の中にボタンが作成さVStackれ、オレンジ色のアクセントカラーが付けられます。
//-----------------------------------
struct ContentView: View {

    var body: some View {
        VStack {
            Button(action: {}) {
                Text("Tap here")
            }
            Button(action: {}) {
                    Text("Tap here")
                }
        }.accentColor(.orange)
    }
}
//-----------------------------------
あるビューを別のビューでマスクする方法
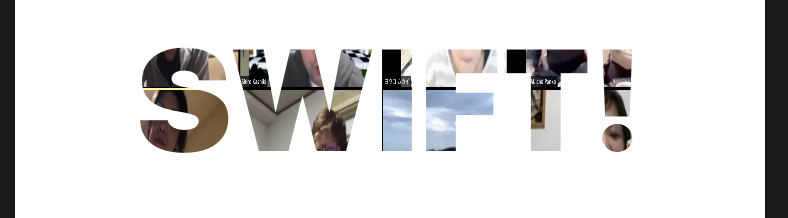
How to mask one view with another
SwiftUIにはmask()、相互にマスクするための修飾子があります。つまり、テキストを使用して画像をマスクしたり、画像を使用して画像をマスクしたりできます。
たとえば、これはストライプの300×300の画像を作成し、「SWIFT!」というテキストを使用してマスクします。文字が画像の切り抜きとして機能するように:
//-----------------------------------
struct ContentView: View {

    var body: some View {
        Image("imageimage")
            .resizable()
            .frame(width: 300, height: 300)
            .mask(Text("SWIFT!")
                .font(Font.system(size: 72).weight(.black)))
    }
}
//-----------------------------------
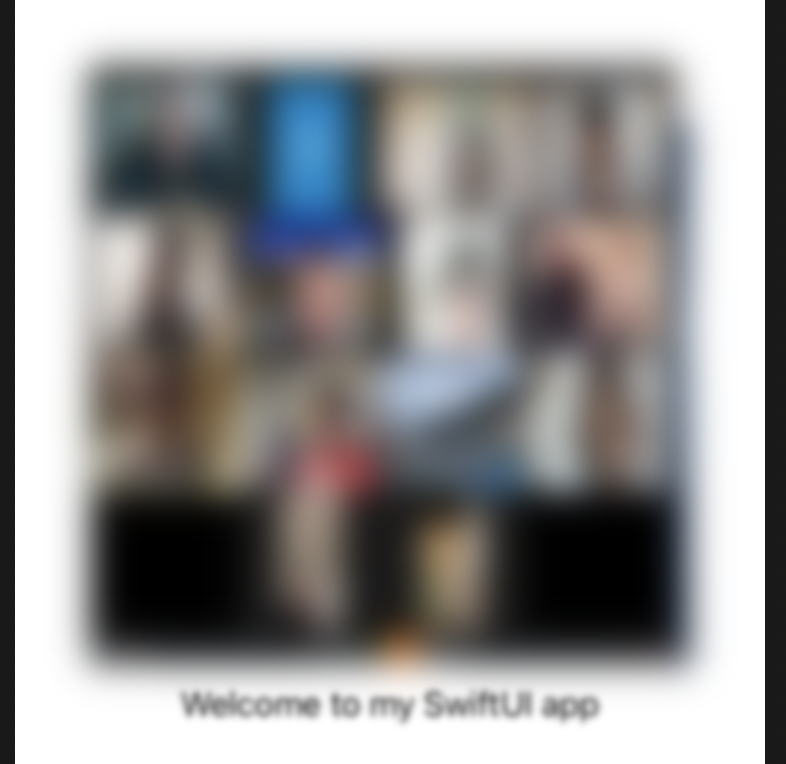
ビューをぼかす方法
How to blur a view
リアルタイムにガウスぼかしを適用することができます。
たとえば、これにより300×300のプロフィール写真が作成され、20ポイントのガウスぼかしが追加されます。
//-----------------------------------
struct ContentView: View {

    var body: some View {
        VStack{
            Image("imageimage")
                .resizable()
                .frame(width: 300, height: 300)
                .blur(radius: 9)

            Text("Welcome to my SwiftUI app")
                .blur(radius: 2)
        }
    }
}
//-----------------------------------
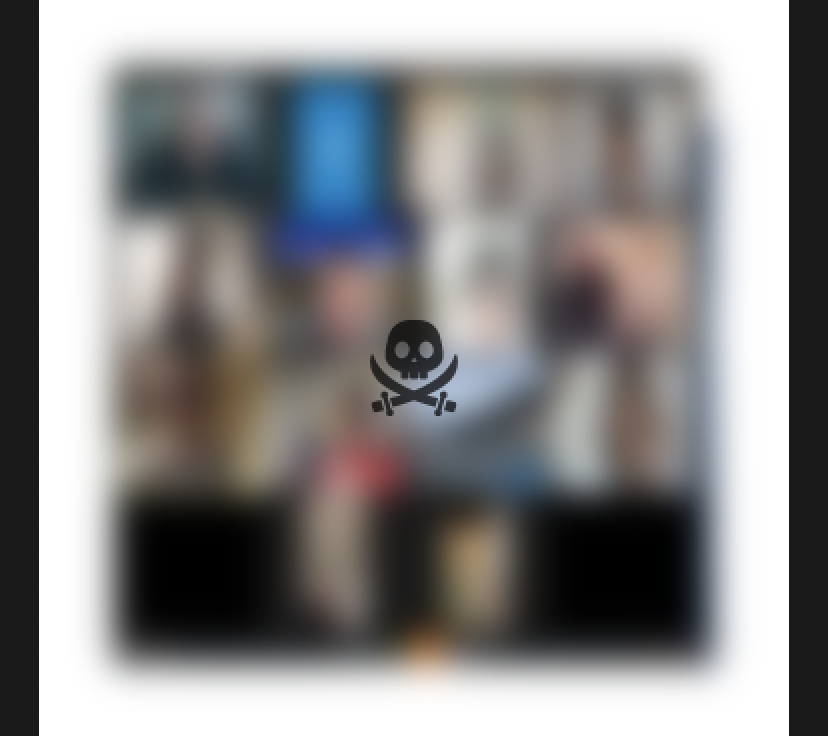
How to blend views togethe
//———————————–
struct ContentView: View {
var body: some View {
ZStack {
Image(“dokuro”)
Image(“imageimage”)
.resizable()
.frame(width: 300, height: 300)
.blur(radius: 9)
.blendMode(.multiply)
}
}
}
//———————————–
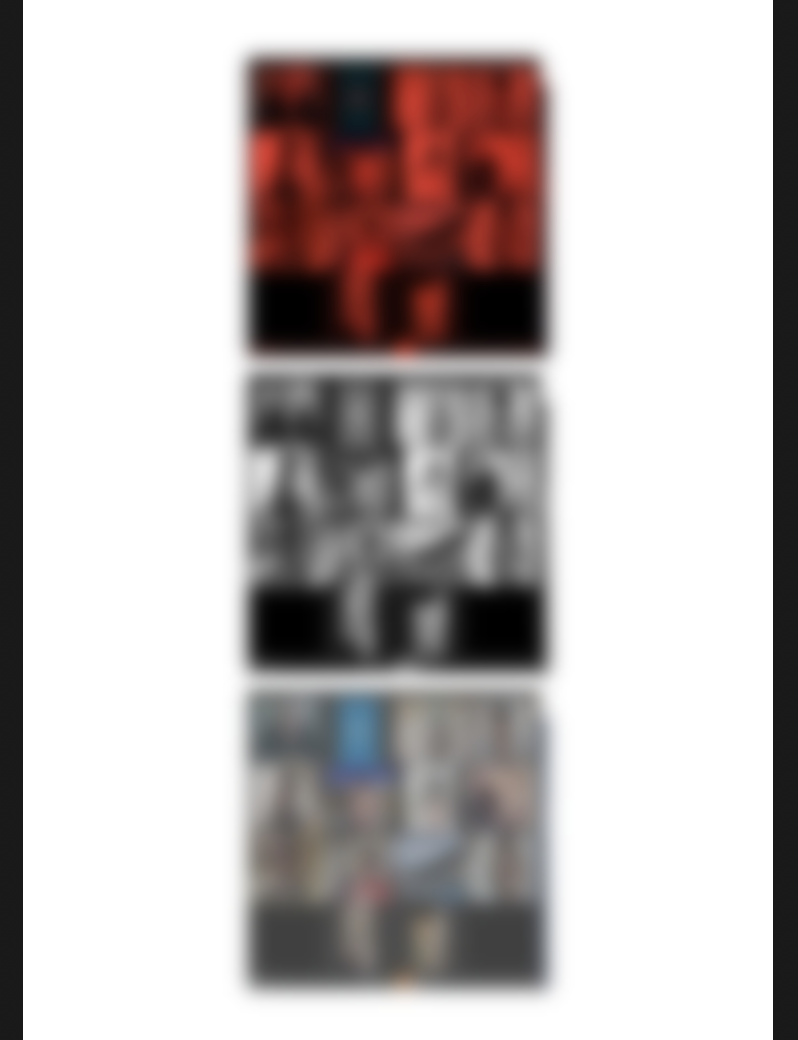
着色、彩度の低下などによってビューを調整する方法
How to adjust views by tinting, and desaturating, and more
//-----------------------------------
struct ContentView: View {

    var body: some View {
        VStack {
            //全体が赤くなる。
            Image("imageimage")
                .resizable()
                .frame(width: 150, height: 150)
                .blur(radius: 5)
                .colorMultiply(.red)

            //彩度0は完全に灰色
            Image("imageimage")
                .resizable()
                .frame(width: 150, height: 150)
                .blur(radius: 5)
                .saturation(0.0)
            // コントラスト
            Image("imageimage")
                .resizable()
                .frame(width: 150, height: 150)
                .blur(radius: 5)
                .contrast(0.5)
        }
    }
}
//-----------------------------------
☆アニメーションをあるビューから別のビューにmatchedGeometryEffect()で同期する方法
How to synchronize animations from one view to another with matchedGeometryEffect()
iOS14で更新
アニメーションをあるビューから別のビューにmatchedGeometryEffect()で同期する方法
ビュー階層の2つの異なる部分に同じビューが表示されていて、それらの間でアニメーション化する場合(たとえば、リストビューからズームされた詳細ビューにmatchedGeometryEffect()移動する場合)、SwiftUIのモディファイアを使用する必要があります。これはMagicMoveに少し似ています。基調講演で。
モディファイアを使用するには、階層の異なる部分にある同じビューのペアにモディファイアをアタッチします。これが完了すると、2つのビュー状態を切り替えると、SwiftUIが同期されたビューをスムーズにアニメーション化することがわかります。
試してみるには、まず、ビューが2つの場所に表示されるようなレイアウトを作成します。この例では、1つのビュー状態に赤い円とテキストがありますが、別のビュー状態では、円はテキストの後にあり、色が変わります。
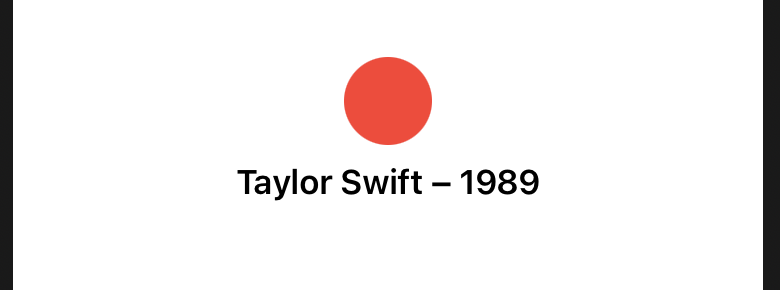
//-----------------------------------
struct ContentView: View {
@State private var isFlipped = false
var body: some View {
VStack {
if isFlipped {
Circle()
.fill(Color.red)
.frame(width: 44, height: 44)
Text("Taylor Swift – 1989")
.font(.headline)
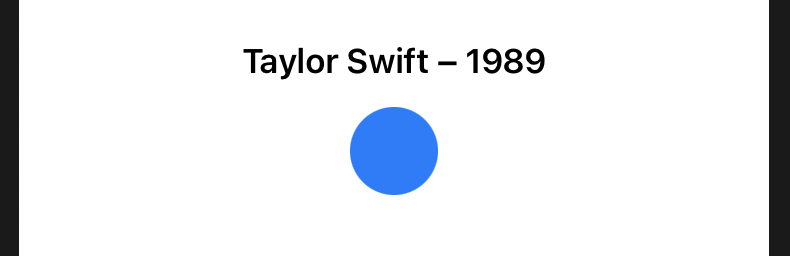
} else {
Text("Taylor Swift – 1989")
.font(.headline)
Circle()
.fill(Color.blue)
.frame(width: 44, height: 44)
}
}
.onTapGesture {
withAnimation {
self.isFlipped.toggle()
}
}
}
}
//-----------------------------------
問題はありませんが、もっとうまくいくことができます。
まず、@Namespaceプロパティラッパーを使用して、ビューのグローバル名前空間を作成する必要があります。実際には、これはビューのプロパティに他なりませんが、舞台裏では、ビューを一緒にアタッチできます。
したがって、次のようなプロパティを追加できます。
@Namespace private var animation
次に.matchedGeometryEffect(id: YourIdentifierHere, in: animation)、同期効果でアニメーション化するすべてのビューに追加する必要があります。YourIdentifierHere一部はあなたのペアの各部分によって共有されているいくつかのユニークな番号に置き換えてください。
この例では、これを円に使用できます。
.matchedGeometryEffect(id: “Shape”, in: animation)
そして、これをテキストに使用します。
.matchedGeometryEffect(id: “AlbumTitle”, in: animation)
これで終わりです。例をもう一度実行すると、2つのビューがスムーズに移動することがわかります。
最終的なコードは次のようになります。
//-----------------------------------
struct ContentView: View {
    @Namespace private var animation
    @State private var isFlipped = false

    var body: some View {
        VStack {
            if isFlipped {
                Circle()
                    .fill(Color.red)
                    .frame(width: 44, height: 44)
                    .matchedGeometryEffect(id: "Shape", in: animation)
                Text("Taylor Swift – 1989")
                    .matchedGeometryEffect(id: "AlbumTitle", in: animation)
                    .font(.headline)
            } else {
                Text("Taylor Swift – 1989")
                    .matchedGeometryEffect(id: "AlbumTitle", in: animation)
                    .font(.headline)
                Circle()
                    .fill(Color.blue)
                    .frame(width: 44, height: 44)
                    .matchedGeometryEffect(id: "Shape", in: animation)
            }
        }
        .onTapGesture {
            withAnimation {
                self.isFlipped.toggle()
            }
        }
    }
}
//-----------------------------------
より高度な例として、これを試してみてください。AppleMusicからアルバムの表示スタイルを借用し、タップすると小さなビューを大きなものに拡大します。この例では、場所が変更されているため、テキストのみがアニメーション化されています。
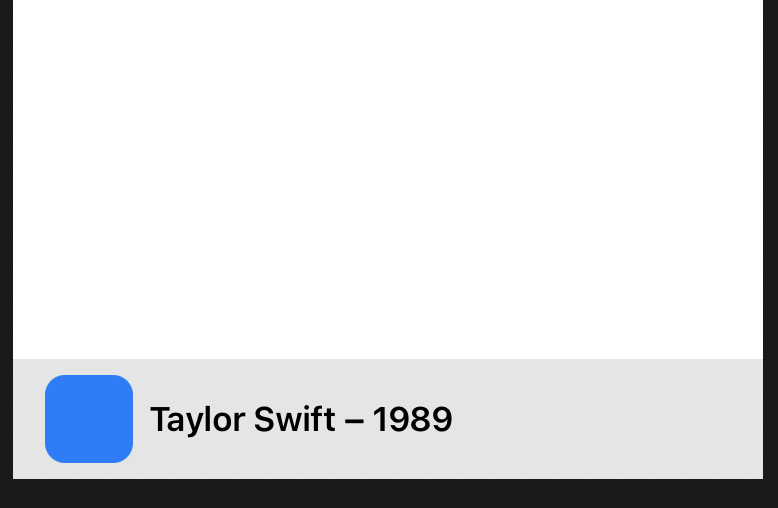
//-----------------------------------
struct ContentView: View {
@Namespace private var animation
@State private var isZoomed = false
var frame: CGFloat {
isZoomed ? 300 : 44
}
var body: some View {
VStack {
Spacer()
VStack {
HStack {
// Image
RoundedRectangle(cornerRadius: 10)
.fill(Color.blue)
.frame(width: frame, height: frame)
.padding(.top, isZoomed ? 20 : 0)
// text disp HStack
if isZoomed == false {
Text("Taylor Swift – 1989")
.matchedGeometryEffect(id: "AlbumTitle", in: animation)
.font(.headline)
Spacer()
}
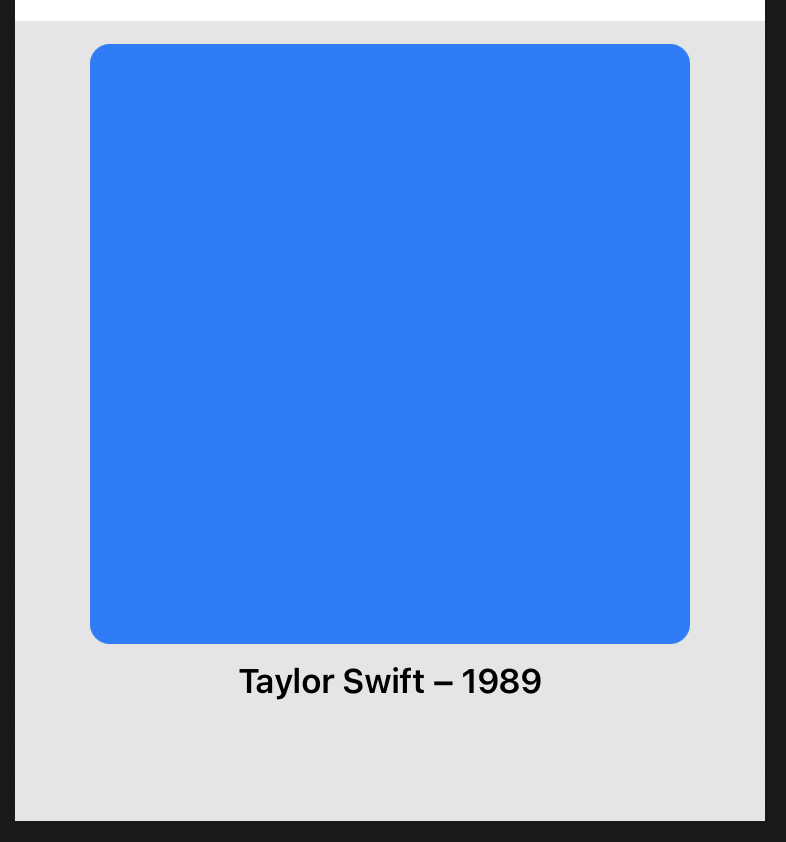
}
// text disp VStack
if isZoomed == true {
Text("Taylor Swift – 1989")
.matchedGeometryEffect(id: "AlbumTitle", in: animation)
.font(.headline)
.padding(.bottom, 60)
Spacer()
}
}
.onTapGesture {
withAnimation(.spring()) {
self.isZoomed.toggle()
}
}
.padding()
.frame(maxWidth: .infinity)
// Image size ここで拡大 縮小
.frame(height: isZoomed ? 400 : 60)
.background(Color(white: 0.9))
}
}
}
//-----------------------------------
RoundedRectangleリサイズ
SAMPLE 関連 image resize zoom etc
//-----------------------------------
struct ContentView: View {
    @State private var isZoomed = false

    // Image Size First and Second
    var Image_frame: CGFloat {
        isZoomed ? 300 : 80
    }

    var body: some View {
        VStack {
            RoundedRectangle(cornerRadius: 10)
                .fill(Color.blue)
                .frame(width: Image_frame, height: Image_frame)
        }
        .onTapGesture {
            withAnimation(.spring()) {
                self.isZoomed.toggle()
            }
        }
    }
}
//-----------------------------------
imageリサイズ
//-----------------------------------
struct ContentView: View {
    @State private var isZoomed = false

    // Image Size First and Second
    var Image_frame: CGFloat {
        isZoomed ? 200 : 80
    }

    var body: some View {
        VStack {
            //Spacer()
            //RoundedRectangle(cornerRadius: 10)
            //    .fill(Color.blue)
            Image("imageimage")

                .resizable()
                .scaledToFill()
                .blur(radius: 4)
                .frame(width: Image_frame, height: Image_frame)
        }
        .onTapGesture {
            withAnimation(.spring()) {
                self.isZoomed.toggle()
            }
        }
    }
}
//-----------------------------------