基本的なアニメーションの作成方法
How to create basic animations

ビューの他のモディファイアの後に配置し、必要なアニメーションの種類を指定します。
//-----------------------------------
struct ContentView: View {
    @State private var scale1: CGFloat = 1
    @State private var scale2: CGFloat = 1

    var body: some View {
        VStack{
            Button(action: {
                self.scale1 += 1
            }) {
                Text("Tap here")
                    .scaleEffect(scale1)
                    .animation(.linear)
            }
            Button(action: {
                self.scale2 += 1
            }) {
                Text("Tap here")
                    .scaleEffect(scale2)
                    .animation(.linear)
            }
        }
    }
}
//-----------------------------------
How to create a spring animation
SwiftUIには、ターゲットポイントに移動し、少しオーバーシュートしてから跳ね返るアニメーションである春のアニメーションのサポートが組み込まれています。
スプリングアニメーションをきめ細かく制御する場合は、オブジェクトの質量、スプリングの硬さ、スプリングの速度が遅くなる速度、起動時に動き始める速度など、関心のあるパラメータを送信します。 。
たとえば、これにより、適度な量のスプリングダンピングを備えたボタンが作成されます。これは、ターゲット角度に到達する前に、数回前後にバウンドすることを意味します。

//-----------------------------------
struct ContentView: View {
    @State private var angle: Double = 0
    @State private var angle2: Double = 0

    var body: some View {
        VStack{
            Button(action: {
                        self.angle += 45
                    }) {
                        Text("Tap here")
                            .padding()
                            .rotationEffect(.degrees(angle))
                            .animation(.spring())
                    }
            Button(action: {
                self.angle2 += 45
            }) {
                Text("Tap here")
                    .padding()
                    .rotationEffect(.degrees(angle2))
                    .animation(.interpolatingSpring(mass: 1, stiffness: 1, damping: 0.5, initialVelocity: 5))
            }
        }
    }
}
//-----------------------------------
注:これは補間スプリングです。つまり、アニメーションを数回トリガーすると、スプリングが結合するにつれてスプリング効果がどんどん強くなります。
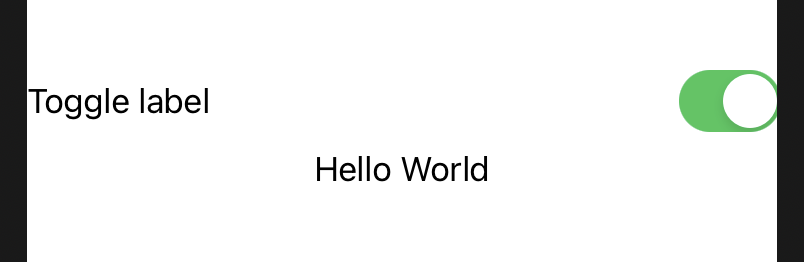
バインディング値の変更をアニメーション化する方法
How to animate changes in binding values
SwiftUIの双方向バインディングを使用すると、プログラムの状態を調整でき、ビュー階層を調整することでそれに対応できます。たとえば、テキストを表示または非表示にしたり、ビューの不透明度を調整したりできます。
バインディングに追加することで、バインディングの変更によって引き起こされた変化をアニメーション化できanimation()ます。
//-----------------------------------
struct ContentView: View {
    @State private var showingWelcome = false

    var body: some View {
        VStack {
            //Toggle(isOn: $showingWelcome) {
            //Toggle(isOn: $showingWelcome.animation()) {
            Toggle(isOn: $showingWelcome.animation(.spring())) {
                Text("Toggle label")
            }

            if showingWelcome {
                Text("Hello World")
            }
        }
    }
}
//-----------------------------------
明示的なアニメーションを作成する方法
How to create an explicit animation
暗黙のアニメーション animation modifier to a view
それぞれのモディファイアは、1つのビューを返す です。
モディファイアは、ビューのプロパティを単純に変更していくわけではありません。
明示的なアニメーション withAnimation() 明示的なアニメーション explicit animation
withAnimation()を呼び出しで変更をラップします。

//-----------------------------------
struct ContentView: View {
    @State private var opacity = 1.0

    var body: some View {
        Button(action: {
            withAnimation {
                self.opacity -= 0.2
            }
        }) {
            Text("Tap here")
                .padding()
                .opacity(opacity)
        }
    }
}
//-----------------------------------
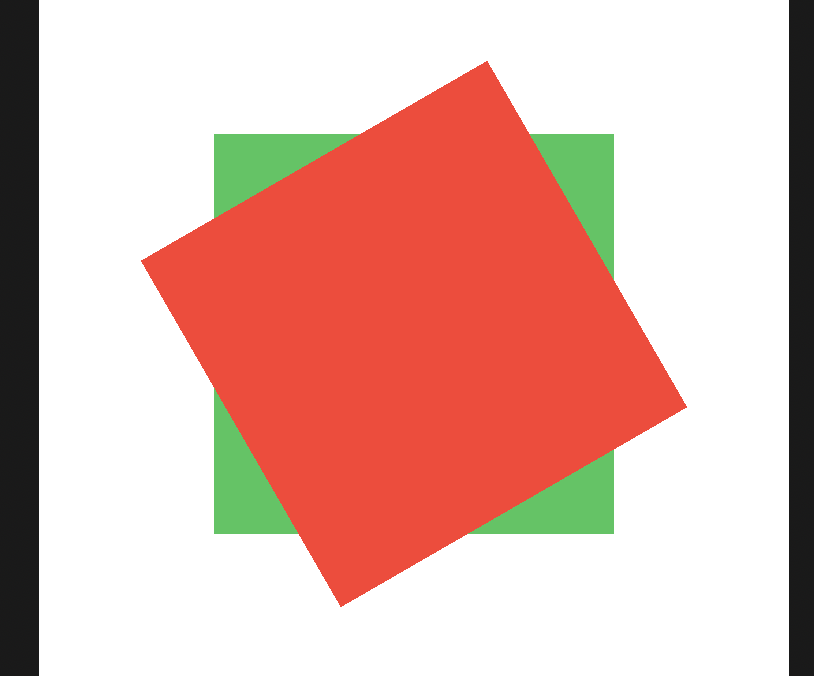
アニメーションを遅らせる方法
How to delay an animation
暗黙的、明示的、またはバインディングを使用してアニメーションを作成する場合、そのアニメーションにモディファイアをアタッチして、動作方法を調整できます。たとえば、アニメーションを特定の秒数後に開始する場合は、delay()モディファイヤを使用する必要があります。
//-----------------------------------
struct ContentView: View {
    @State var rotation1 = 0.0
    @State var rotation2 = 0.0

    var body: some View {
        ZStack{
            Rectangle()
                .fill(Color.green)
                .frame(width: 200, height: 200)

            Rectangle()
                .fill(Color.red)
                .frame(width: 200, height: 200)
                //.opacity(5)
                .rotationEffect(.degrees(rotation1))
                .animation(Animation.easeInOut(duration: 3).delay(1))
                .onTapGesture {
                    self.rotation1 += 390
                }
        }
    }
}
//-----------------------------------
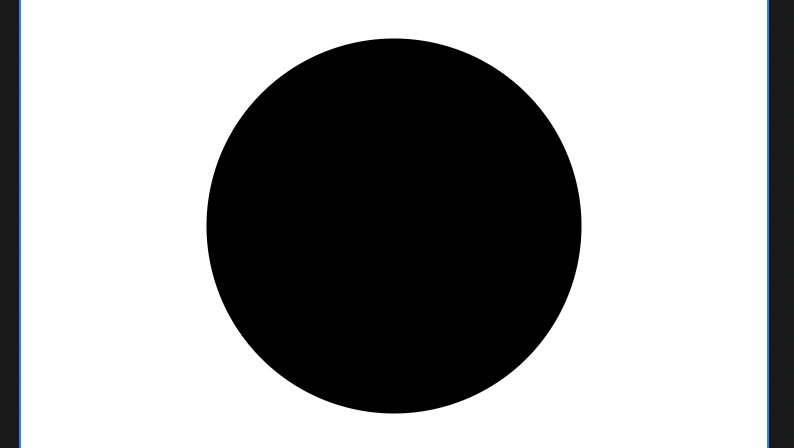
ビューが表示された直後にアニメーションを開始する方法
How to start an animation immediately after a view appears
SwiftUIビューが表示されたらすぐにアニメーションを開始する→onAppear()
単純なバージョン–これにより、永久に拡大および縮小する円が作成されます。
struct ContentView: View {
    @State var scale: CGFloat = 1

    var body: some View {
        Circle()
            .scaleEffect(scale)
            .onAppear {
                let baseAnimation = Animation.easeInOut(duration: 1)
                let repeated = baseAnimation.repeatForever(autoreverses: true)

                return withAnimation(repeated) {
                    self.scale = 0.5
                }
            }
    }
}
初期アニメーションを頻繁に追加する場合は、Viewプロトコルにいくつかの拡張機能を追加して簡単にすることをお勧めします。以下の2つの拡張機能は、必要なアニメーションをカスタマイズし、動作全体をきちんとまとめることができる修飾子を追加animate()しanimateForever()ます。
//-----------------------------------
struct ContentView: View {
    @State var scale: CGFloat = 1

    var body: some View {
        Circle()
            .scaleEffect(scale)
            //.animateForever(autoreverses: true) { self.scale = 0.5 }
            .animate() { self.scale = 0.5 }
    }
}
//-----------------------------------
//-----------------------------------

extension View {
    func animate(using animation: Animation = Animation.easeInOut(duration: 1), _ action: @escaping () -> Void) -> some View {
        return onAppear {
            withAnimation(animation) {
                action()
            }
        }
    }
}

extension View {
    func animateForever(using animation: Animation = Animation.easeInOut(duration: 1), autoreverses: Bool = false, _ action: @escaping () -> Void) -> some View {
        let repeated = animation.repeatForever(autoreverses: autoreverses)

        return onAppear {
            withAnimation(repeated) {
                action()
            }
        }
    }
}
//-----------------------------------
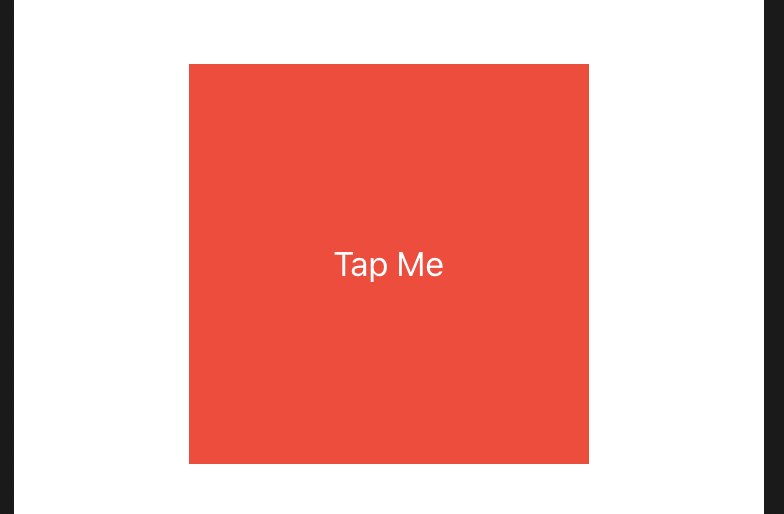
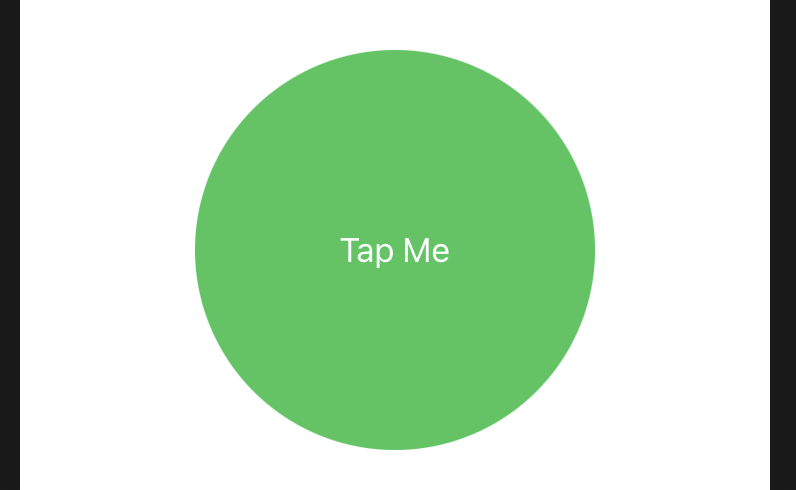
How to apply multiple animations to a view
SwiftUIのanimation()モディファイヤを使用する順序は、アニメーション化するモディファイアに影響します。また、さまざまなアニメーションを取得するために、複数のanimation()モディファイヤを追加することもできます。
たとえば、有効な状態と無効な状態の間でアニメーション化するボタンを作成するコードを記述して、角を丸めたり、背景色を変更したりできます。 角の丸みをアニメーション化するが色の変更はしたくない場合は、クリップの形状の後にanimation(.default)、背景の後にanimation(nil)などのアニメーションを使用します。
//-----------------------------------
struct ContentView: View {
    @State var isEnabled = false

    var body: some View {
        Button("Tap Me") {
            self.isEnabled.toggle()
        }
        .foregroundColor(.white)
        .frame(width: 200, height: 200)
        .background(isEnabled ? Color.green : Color.red)
        .animation(nil)
        .clipShape(RoundedRectangle(cornerRadius: isEnabled ? 100 : 0))
        .animation(.default)
    }
}
//-----------------------------------
トランジションを使用してビューを追加および削除する方法
How to add and remove views with a transition
通常のSwift条件を使用するだけで、デザインにビューを含めたり除外したりできます。たとえば、ボタンをタップすると、詳細テキストが追加または削除されます。
transition()
①下からスライドインまたはスライドアウト
②ビューが先頭からアニメーション化され、後端でアニメーション化されます。
③入ってくるときにゼロからフルサイズに拡大され、出て行くときにゼロに戻ります。

//-----------------------------------
struct ContentView: View {
    @State private var showDetails = false

    var body: some View {
        VStack {
            Button(action: {
                withAnimation {
                    self.showDetails.toggle()
                }
            }) {
                Text("Tap to show details")
            }

            if showDetails {
                Text("Details go here.")
                    //.transition(.move(edge: .bottom))
                    .transition(.slide)
                    //.transition(.scale)
            }
        }
    }
}
//-----------------------------------
トランジションを組み合わせる方法
How to combine transitions
SwiftUIでは、トランジションを組み合わせて、combined(with:)メソッドを使用して新しいアニメーションスタイルを作成できます。たとえば、次のように、ビューの移動(1つのトランジション)とフェード(2番目のトランジション)を同時に行うことができます。
extensionの使用例も含む。
//-----------------------------------
struct ContentView: View {
    @State private var showDetails = false

    var body: some View {
        VStack {
            Button(action: {
                withAnimation {
                    self.showDetails.toggle()
                }
            }) {
                Text("Tap to show details")
            }

            if showDetails {
                Text("Details go here.")
                    //.transition(.move(edge: .bottom))
                    //.transition(.slide)
                    //.transition(.scale)
                    //トランジションを組み合わせ
                    //.transition(AnyTransition.opacity.combined(with: .slide))
                    .transition(.moveAndScale)
            }
        }
    }
}
//-----------------------------------
extension AnyTransition {
    static var moveAndScale: AnyTransition {
        AnyTransition.move(edge: .bottom).combined(with: .scale)
    }
}
//-----------------------------------
非対称遷移を作成する方法
How to create asymmetric transitions
asymmetric()
SwiftUIでは、ビューを追加するときに1つの遷移を指定し、ビューを削除するときに別の遷移を指定できます。
//-----------------------------------
struct ContentView: View {
    @State private var showDetails = false

    var body: some View {
        VStack {
            Button(action: {
                withAnimation {
                    self.showDetails.toggle()
                }
            }) {
                Text("Tap to show details")
            }

            if showDetails {
                Text("Details go here.")
                    //.transition(.move(edge: .bottom))
                    //.transition(.slide)
                    //.transition(.scale)
                    //トランジションを組み合わせ
                    //.transition(AnyTransition.opacity.combined(with: .slide))
                    //.transition(.moveAndScale)
                    //非対称遷移 asymmetric transitions
                    .transition(.asymmetric(insertion: .move(edge: .leading), removal: .move(edge: .bottom)))
            }
        }
    }
}
//-----------------------------------
extension AnyTransition {
    static var moveAndScale: AnyTransition {
        AnyTransition.move(edge: .bottom).combined(with: .scale)
    }
}
//-----------------------------------
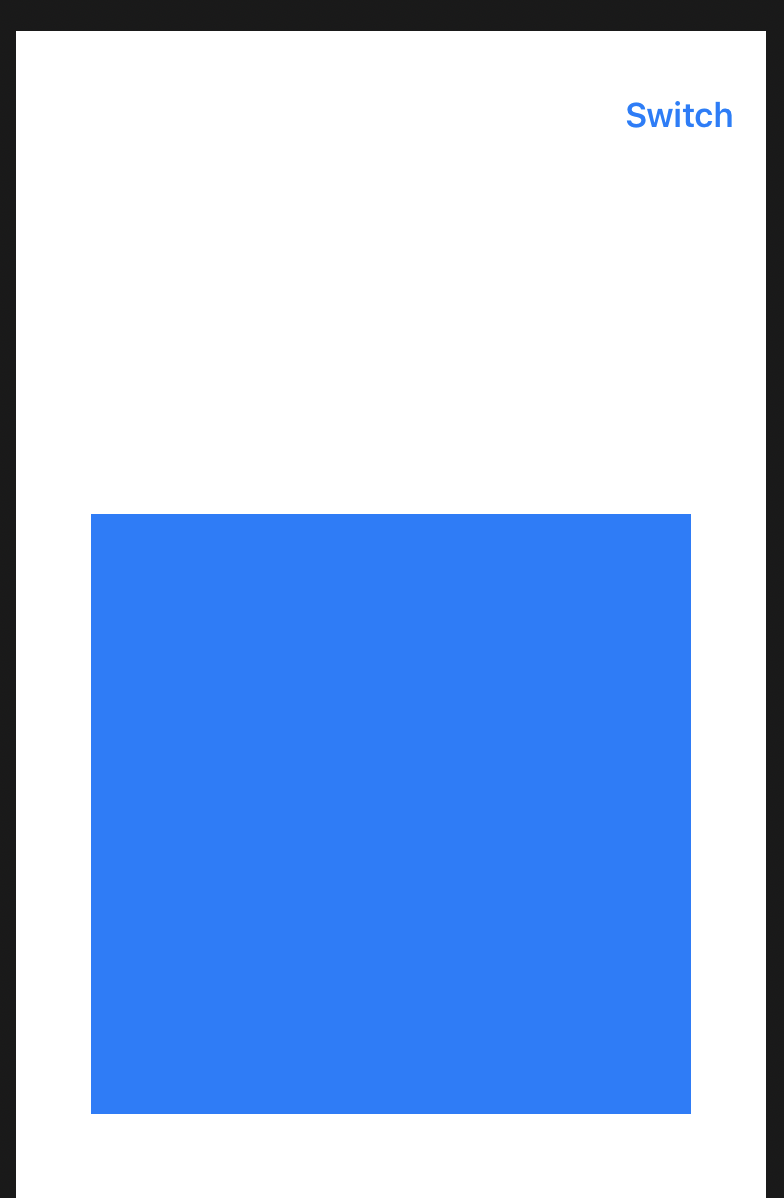
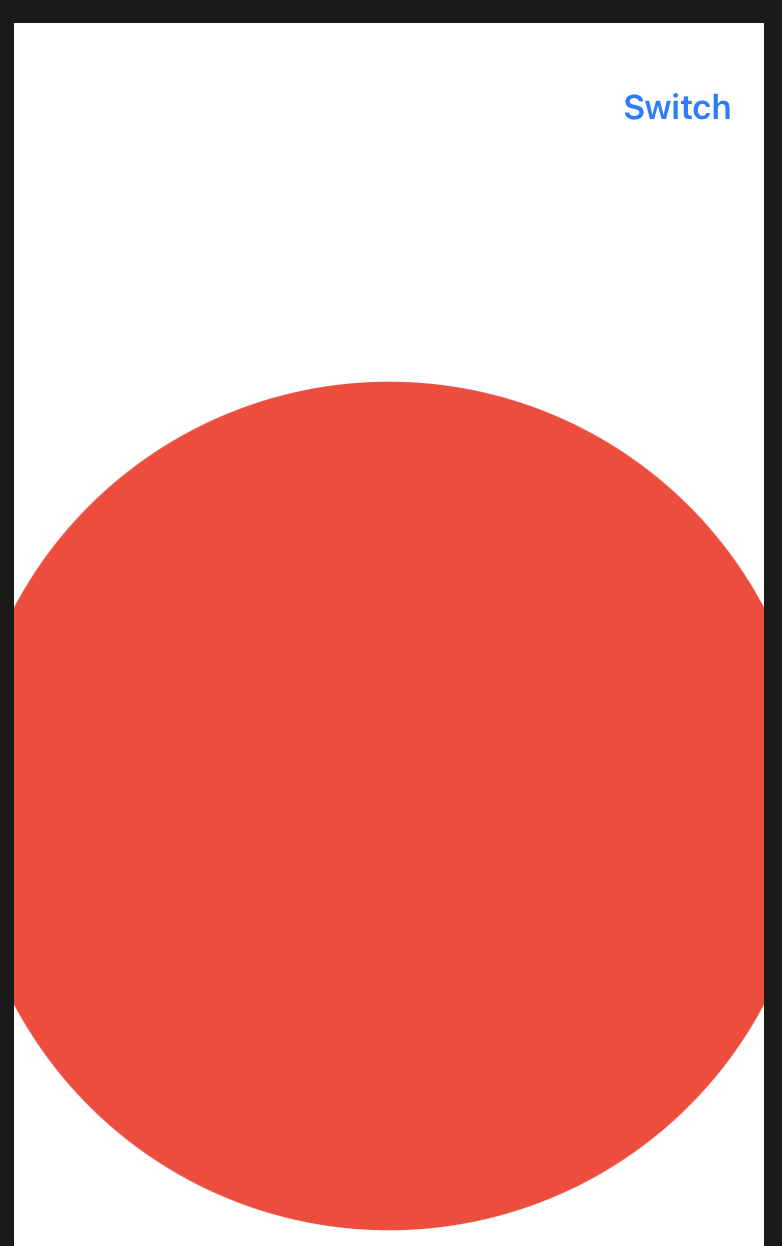
カスタムトランジションを作成する方法
How to create a custom transition
SwiftUIにはさまざまなトランジションが組み込まれていますが、必要に応じて完全にカスタムのトランジションを作成することもできます。
図形で切り取り(clipShape)
.clipShape(形状指定)
形状を指定してViewを切り取ります。
形状にはShapeプロトコルに準じた構造体を指定します。
struct ContentView: View {
    var body: some View {
        Image("capibara-400")
            .frame(width:300, height: 300)
            .clipShape(Circle())    // 円形に切り取り
    }
}
他のViewで切り取る(マスク)
システムアイコンで切り取り
文字で切り取り
//-----------------------------------
struct ScaledCircle: Shape {
    var animatableData: CGFloat

    func path(in rect: CGRect) -> Path {
        let maximumCircleRadius = sqrt(rect.width * rect.width + rect.height * rect.height)
        let circleRadius = maximumCircleRadius * animatableData

        let x = rect.midX - circleRadius / 2
        let y = rect.midY - circleRadius / 2

        let circleRect = CGRect(x: x, y: y, width: circleRadius, height: circleRadius)

        return Circle().path(in: circleRect)
    }
}
//-----------------------------------
struct ClipShapeModifier<T: Shape>: ViewModifier {
    let shape: T

    func body(content: Content) -> some View {
        content.clipShape(shape)
    }
}
//-----------------------------------
struct ContentView: View {
    @State private var isShowingRed = false

    var body: some View {
        NavigationView {
            ZStack {
                Rectangle()
                    .fill(Color.blue)
                    .frame(width: 300, height: 300)

                if isShowingRed {
                    Rectangle()
                        .fill(Color.red)
                        .frame(width: 300, height: 300)
                        // 円設定↓ extensionにて定義
                        .transition(.iris)
                        .zIndex(1)
                }
            }
            .navigationBarItems(trailing: Button("Switch") {
                withAnimation(.easeInOut) {
                    self.isShowingRed.toggle()
                }
            })
        }
    }
}
//-----------------------------------
extension AnyTransition {
    static var iris: AnyTransition {
        .modifier(
            active: ClipShapeModifier(shape: ScaledCircle(animatableData: 0)),
            identity: ClipShapeModifier(shape: ScaledCircle(animatableData: 1))
        )
    }
}
//-----------------------------------
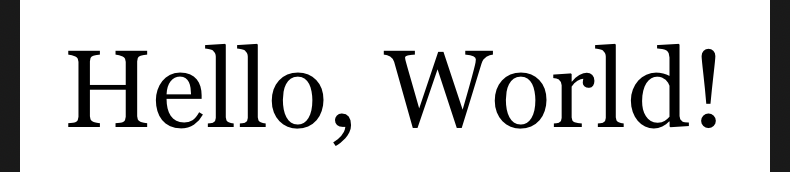
テキストのサイズをアニメーション化する方法
How to animate the size of text
SwiftUIには、テキストサイズをアニメーション化する組み込みの方法はありませんがAnimatableModifier、効果を可能にするを作成することはできます。これは、単純な修飾子を使用することと同じではありません。これscaleEffect()により、拡大するとテキストがぼやけますが、このカスタムアニメーションはテキストを正しく再レンダリングするため、すべてのサイズで見栄えがします。
まず、AnimatableModifier名前とサイズを受け入れ、アニメーション化可能なデータにsizeプロパティを使用するが必要です。

//-----------------------------------
struct AnimatableCustomFontModifier: AnimatableModifier {
    var name: String
    var size: CGFloat

    var animatableData: CGFloat {
        get { size }
        set { size = newValue }
    }

    func body(content: Content) -> some View {
        content
            .font(.custom(name, size: size))
    }
}
//-----------------------------------
//-----------------------------------
struct ContentView: View {
    @State private var fontSize: CGFloat = 55

    var body: some View {
        Text("Hello, World!")
            .animatableFont(name: "Georgia", size: fontSize)
            .onTapGesture {
                withAnimation(Animation.spring(response: 0.5, dampingFraction: 0.5, blendDuration: 1).repeatForever()) {
                    self.fontSize = 55
                }
            }
    }
}
//-----------------------------------
extension View {
    func animatableFont(name: String, size: CGFloat) -> some View {
        self.modifier(AnimatableCustomFontModifier(name: name, size: size))
    }
}
//-----------------------------------
Appleのシステムフォントを使用したい場合は、別の方法を使用するのが最善の方法
//-----------------------------------
struct AnimatableSystemFontModifier: AnimatableModifier {
    var size: CGFloat
    var weight: Font.Weight
    var design: Font.Design

    var animatableData: CGFloat {
        get { size }
        set { size = newValue }
    }

    func body(content: Content) -> some View {
        content
            .font(.system(size: size, weight: weight, design: design))
    }
}
//-----------------------------------
//-----------------------------------
struct ContentView: View {
    @State private var fontSize: CGFloat = 25

    var body: some View {
        Text("Hello, World!")
            //.animatableFont(name: "Georgia", size: fontSize)
            .animatableSystemFont(size: fontSize)
            .onTapGesture {
                withAnimation(Animation.spring(response: 0.5, dampingFraction: 0.5, blendDuration: 1).repeatForever()) {
                    self.fontSize = 65
                }
            }
    }
}
//-----------------------------------
extension View {
    func animatableSystemFont(size: CGFloat, weight: Font.Weight = .regular, design: Font.Design = .default) -> some View {
        self.modifier(AnimatableSystemFontModifier(size: size, weight: weight, design: design))
    }
}
//-----------------------------------