完全なプロジェクトの構築
実際のアプリプロジェクトでSwiftUIを実際に学ぶ
OrderViewにセクションがありません。
「iDine」swiftUIチュートリアルについて:
SwiftUI-iDine GitHub
私たちが作成するプロジェクトはiDineと呼ばれ、メニュー内のアイテムを一覧表示し、人々が注文するのを支援するレストランアプリです。
テキストとメディア
Text and media
テキストビュー内のテキストをフォーマットする方法
How to format text inside text views
struct ContentView: View {
    static let taskDateFormat: DateFormatter = {
        let formatter = DateFormatter()
        formatter.dateStyle = .long
        return formatter
    }()

    var dueDate = Date()

    var body: some View {
        Text("Task due date: \(dueDate, formatter: Self.taskDateFormat)")
    }
}
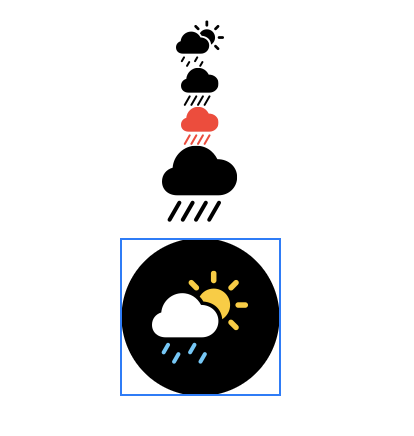
SFシンボルを使用して画像をレンダリングする方法
How to render images using SF Symbols
SwiftUIのImageビューでは、SFシンボルから2000以上のアイコンをロードでき、それらの多くはマルチカラーでも機能します。
SF Symbols
Image(systemName: "cloud.sun.rain.fill")
    .renderingMode(.original)
    .font(.largeTitle)
    .padding()
    .background(Color.black)
    .clipShape(Circle())
画像をそのスペースに合わせる方法を調整する方法
How to adjust the way an image is fitted to its space
Image("example-image")
    .resizable()
    .aspectRatio(contentMode: .fit)
画像を並べて表示する方法
How to tile an image
struct ContentView: View {

    func aaa() -> Image{
        guard let img = UIImage(named: "imageimage") else {
            fatalError("Unable to load image")
        }
        return Image(uiImage: img)
    }


    var body: some View {
        VStack{
            aaa()
            //.resizable()
            //.resizable(resizingMode: .tile)
            .resizable(resizingMode: .stretch)
            .aspectRatio(contentMode: .fit)

            aaa()
                .resizable(capInsets: EdgeInsets(top: 20, leading: 20, bottom: 20, trailing: 20), resizingMode: .tile)
        }
    }
}
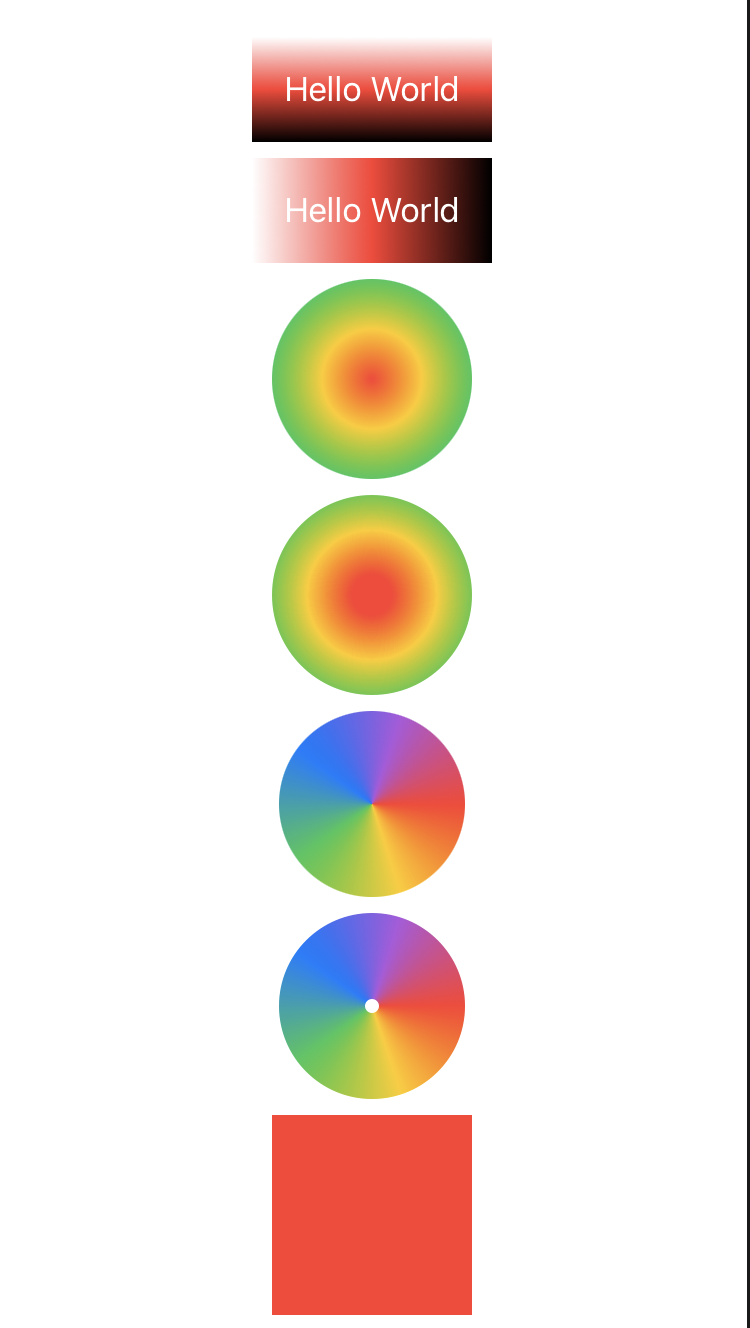
グラデーションをレンダリングする方法
How to render a gradient
struct ContentView: View {

    func aaa() -> Image{
        guard let img = UIImage(named: "imageimage") else {
            fatalError("Unable to load image")
        }
        return Image(uiImage: img)
    }

    func aaaa() -> some View{
        let colors = Gradient(colors: [.red, .yellow, .green, .blue, .purple])
        let conic = RadialGradient(gradient: colors, center: .center, startRadius: 10, endRadius: 100)
        return Circle()
            .fill(conic)
            .frame(width: 100, height: 100)

    }
    func aaaaa() -> some View{
        let colors = Gradient(colors: [.red, .yellow, .green, .blue, .purple, .red])
        let conic = AngularGradient(gradient: colors, center: .center)
        return Circle()
            .fill(conic)

    }
    func aaaaaa() -> some View{
        let colors = Gradient(colors: [.red, .yellow, .green, .blue, .purple, .red])
        let conic = AngularGradient(gradient: colors, center: .center, startAngle: .zero, endAngle: .degrees(360))
        return Circle()
            .strokeBorder(conic, lineWidth: 50)

    }


    var body: some View {
        let colors = Gradient(colors: [.red, .yellow, .green, .blue, .purple])
        let conic = RadialGradient(gradient: colors, center: .center, startRadius: 0, endRadius: 100)

        VStack{
            Text("Hello World")
                .padding()
                .foregroundColor(.white)
                .background(LinearGradient(gradient: Gradient(colors: [.white, .red, .black]), startPoint: .top, endPoint: .bottom))
            Text("Hello World")
                .padding()
                .foregroundColor(.white)
                .background(LinearGradient(gradient: Gradient(colors: [.white, .red, .black]), startPoint: .leading, endPoint: .trailing))

            Circle()
                .fill(conic)
                .frame(width: 100, height: 100)

            aaaa()
            aaaaa()
            aaaaaa()


        }
    }
}
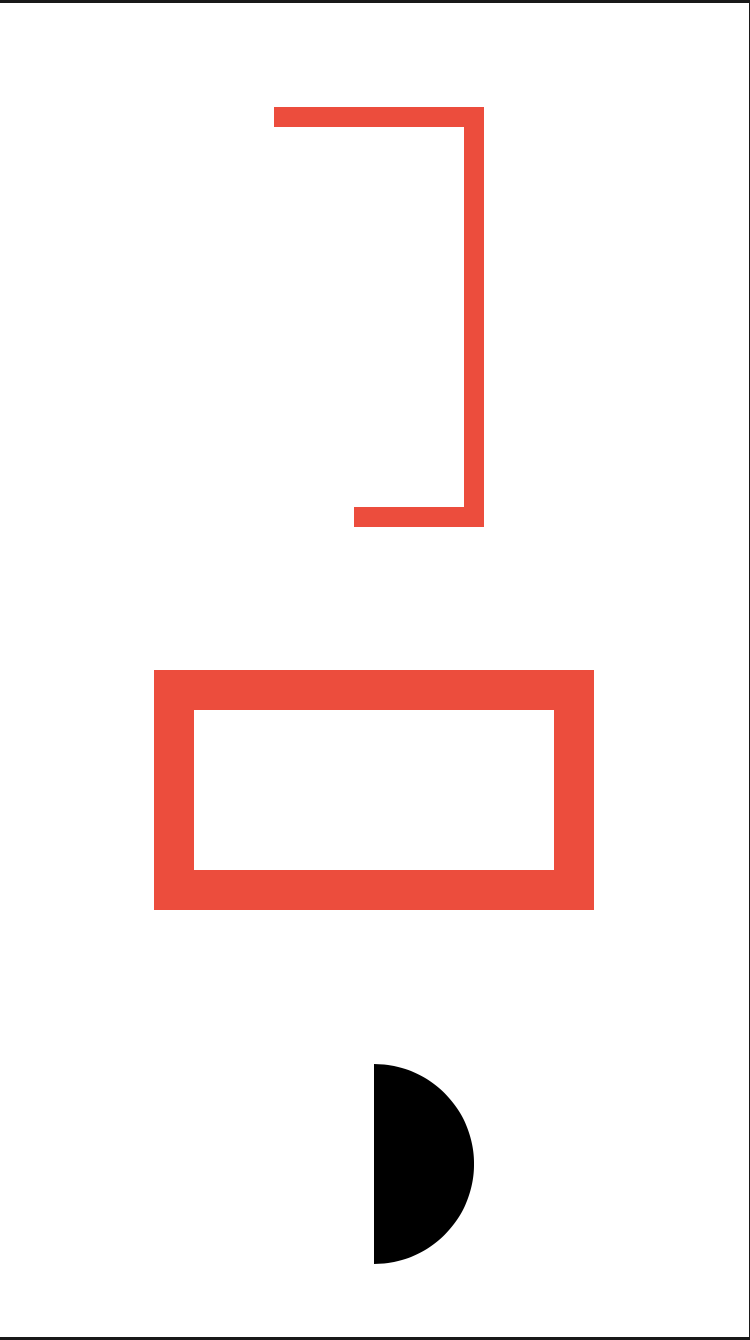
trim()を使用してソリッドシェイプの一部を描画する方法
How to draw part of a solid shape using trim()
SwiftUIでは、モディファイヤを使用してストロークの一部のみを描画したり、シェイプを塗りつぶしたりできtrim()ます。モディファイアは、開始値と終了値の2つのパラメータを取り、どちらもCGFloat0から1の間に格納されます。
rotationEffect()
struct ContentView: View {
    @State private var completionAmount: CGFloat = 0.0
    let timer = Timer.publish(every: 1, on: .main, in: .common).autoconnect()

    var body: some View {
        VStack{
            Spacer()
            Rectangle()
                //.trim(from: 0, to: completionAmount)
                .trim(from: 0, to: 0.6)
                .stroke(Color.red, lineWidth: 10)
                .frame(width: 100, height: 200)
            Spacer()
            Rectangle()
                .trim(from: 0, to: completionAmount)
                .stroke(Color.red, lineWidth: 20)
                .frame(width: 100, height: 200)
                .rotationEffect(.degrees(-90))
                .onReceive(timer) { _ in
                    withAnimation {
                        guard self.completionAmount < 1 else { return }
                        self.completionAmount += 0.2
                    }
            }
            Spacer()
            Circle()

                .trim(from: 0, to: 0.5)
                .rotationEffect(.degrees(-90))
                .frame(width: 100, height: 100)
            Spacer()
        }
    }
}
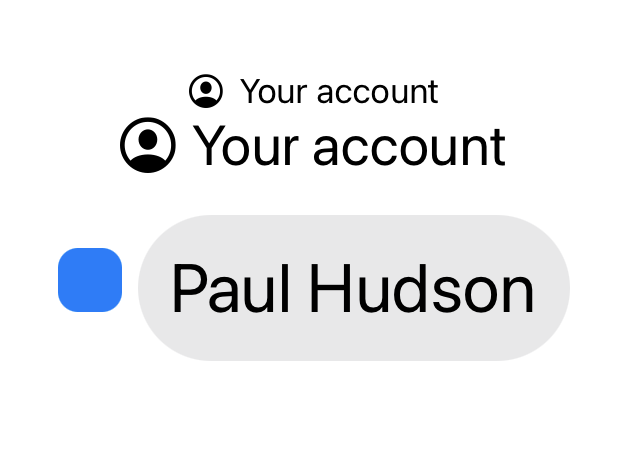
ラベルを使用してテキストとアイコンを並べて表示する方法
How to show text and an icon side by side using Label
var body: some View {
        VStack{
            Label("Your account", systemImage: "person.crop.circle")
            //Label("Welcome to the app", image: "imageimage")
            Label("Your account", systemImage: "person.crop.circle")
                .font(.title)
            Label {
                Text("Paul Hudson")
                    .foregroundColor(.primary)
                    .font(.largeTitle)
                    .padding()
                    .background(Color.gray.opacity(0.2))
                    .clipShape(Capsule())
            }

            icon: {
                RoundedRectangle(cornerRadius: 10)
                    .fill(Color.blue)
                    .frame(width: 32, height: 32)
            }
        }
    }
VideoPlayerで映画を再生する方法
How to play movies with VideoPlayer
SwiftUIのVideoPlayerビューでは、ローカルまたはリモートの任意のURLから映画を再生できます。これはAVKitフレームワークからのものであるため、試すimport AVKit前に確認して追加する必要があります。
例として、アプリバンドルにvideo.mp4があり、それを再生出来ます。
import AVKit
var body: some View {
        /*
        VideoPlayer(player: AVPlayer(url:  Bundle.main.url(forResource: "video", withExtension: "mp4")!))

        VideoPlayer(player: AVPlayer(url:  URL(string: "https://bit.ly/swswift")!))
         */

        VideoPlayer(player: AVPlayer(url:  URL(string: "https://bit.ly/swswift")!)) {
            VStack {
                Text("Watermark")
                    .font(.caption)
                    .foregroundColor(.white)
                    .background(Color.black.opacity(0.7))
                    .clipShape(Capsule())
                Spacer()
            }
        }
    }

SpriteViewを使用してSpriteKitを統合する方法
How to integrate SpriteKit using SpriteView
検索キーワード
SpriteKitチュートリアル
import SwiftUI
import SpriteKit

class GameScene: SKScene {
    override func didMove(to view: SKView) {
        physicsBody = SKPhysicsBody(edgeLoopFrom: frame)
    }

    override func touchesBegan(_ touches: Set, with event: UIEvent?) {
        guard let touch = touches.first else { return }
        let location = touch.location(in: self)
        let box = SKSpriteNode(color: UIColor.red, size: CGSize(width: 50, height: 50))
        box.position = location
        box.physicsBody = SKPhysicsBody(rectangleOf: CGSize(width: 50, height: 50))
        addChild(box)
    }
}

struct ContentView: View {
    var scene: SKScene {
        let scene = GameScene()
        scene.size = CGSize(width: 300, height: 400)
        scene.scaleMode = .fill
        return scene
    }

    var body: some View {
        // more code here
        //Text("aa")
        SpriteView(scene: scene)
            .frame(width: 300, height: 400)
            .edgesIgnoringSafeArea(.all)
    }
}
スプライトキットについて
検索キーワード
SpriteKit Tutorial for Beginners
SpriteKit Tutorial for Beginners
初心者のためのSpriteKitチュートリアル ↑翻訳
【Swift】SpriteKitの使い方。SKActionを使ってノードを移動、回転、拡大縮小する。(Swift 2.2、XCode 7.3)
テキストビュー内で日付をフォーマットする方法
How to format dates inside text views
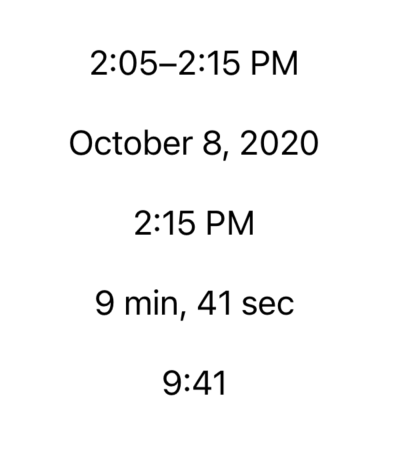
var body: some View {
        VStack{
            //Spacer(max)
            //日付範囲
            Text(Date()...Date().addingTimeInterval(600))
            Spacer()
            // show just the date 日付
            Text(Date().addingTimeInterval(600), style: .date)
            Spacer()
            // show just the time 時刻
            Text(Date().addingTimeInterval(600), style: .time)
            Spacer()
            // show the relative distance from now, automatically updating
            Text(Date().addingTimeInterval(600), style: .relative)
            Spacer()
            // make a timer style, automatically updating
            Text(Date().addingTimeInterval(600), style: .timer)
            Spacer()
        }
        .frame(width: 200, height:200)

    }
textCase()を使用してTextFieldを大文字または小文字にする方法
How to make TextField uppercase or lowercase using textCase()
struct ContentView: View {
    @State private var name = "Paul"

    var body: some View {
        TextField("Shout your name at me", text: $name)
            .textFieldStyle(RoundedBorderTextFieldStyle())
            .textCase(.uppercase)
            .padding(.horizontal)
    }
}
ContainerRelativeShapeはいつ使用する必要がありますか?
When should you use ContainerRelativeShape?
struct WidgetView: View {
    var body: some View {
        ZStack {
            ContainerRelativeShape()
                .inset(by: 4)
                .fill(Color.blue)
            Text("Hello, World!")
                .font(.headline)
        }
    }
}

struct ContentView: View {
    @State private var name = "Paul"

    var body: some View {
        VStack{
            WidgetView()
            WidgetView()
            Text("aaa")
        }

    }

}
it doesn’t work
ContainerRelativeShapeはいつ使用する必要がありますか?
When should you use ContainerRelativeShape?
var body: some View {
        VStack {
            Text("This is placeholder text")
            Text("And so is this")
        }
        .redacted(reason: .placeholder)
    }
参考項目
データ
コアデータ統合などでデータを処理する